Magento is an open-source e-Commerce platform or content management system (CMS) written in PHP, which lends a hand to developers to build eCommerce websites. Magento has two main editions: Enterprise and Community edition. The community edition is for programmers and small business.
Comparing to standard set up of Varnish and Nginx, LiteSpeed provide simpler stack, less resources used and HTTP2, QUIC out of box.
Magento has the potential to make online shopping sites fully customizable to meet user requirements. Magento proves to the world it’s possible to make fast eCommerce stores. It has the ability to produce fast loading pages and has very few HTTP requesta compared to other eCommerce platforms out there in the world.
In this article, we will show you how to install Magento Community Edition on CyberPanel Enterprise.
Requirments:
Requirements for installing Magento Community Edition on your system:
- CyberPanel Enterprise
- PHP version 7.1x or later
- LiteSpeed Web Server (Site Owner or Web Host licenses) Free Starter has no LiteMage Module

Step 1: Download Magento Community Edition
Go to the official site of Magento and create a user account in a few steps if you are a new customer, or log in if you already have an account. After that, download the latest version of Magento Community Edition.
http://www.magentocommerce.com/download
Step 2: Upload Magento to CyberPanel Enterprise
Log into your CyberPanel server. If you have already created a website on CyberPanel, then click Websites on the left sidebar. Click List of Websites and follow the file manage link.

In public_html, upload the downloaded Magento file from your computer, extract it by clicking on the Extract button on CyberPanel as shown in the picture below.

Now you need to set the ownership on the files and folder by clicking the Fix Permissions button in CyberPanel. This will automatically fix the permissions for you.
Step 3: Create Database
Now you need to create the database for Magento which Cyberpanel creates for you by clicking Databases>>Create Database. There you can select the particular website, add database name, user name and password.
Note: Password can be automatically generated by clicking the Generate button.

Step 4: Installation Process
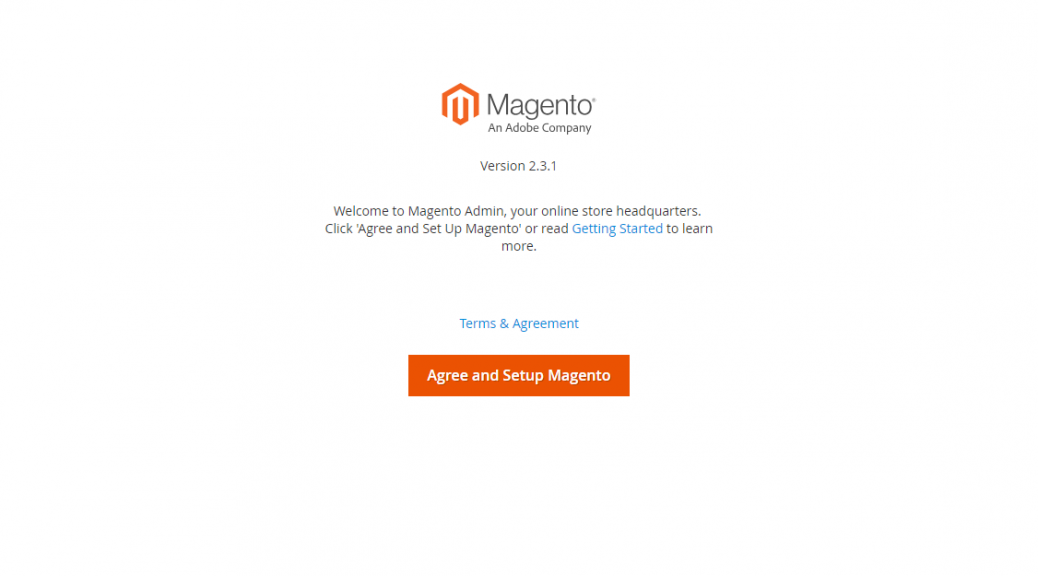
Now open your browser and navigate to the following URL. You will be presented with the Magento installation wizard.
http://IP_ADDRESS/

Next, the wizard will carry on a Readiness Check for the correct PHP version, file permissions and compatibility.

Readiness Check Summary

Enter Database Setting

Setting up Web-site Configuration

Modify your Magento store by setting currency, timezone and language.

Create an Admin account to manage your Magento store with admin credentials.

Now click the ‘Install Now‘ button to continue the Magento installation process.


All done! you have successfully installed Magento on CyberPanel Enterprise. If you face any error while installing please comment below.
Step 5: Install and Configure LiteMage Cache
In this step I will describe to you how to install and configure the LiteMage Cache solution for Magento. Follow the steps below to install for your version of Magento.
Note: LiteMage requires LiteSpeed Enterprises Web server for the correct installation.
Installing LiteMage Cache solution on Magento you have to follow these steps correctly:
- Log into your SSH account
- Access the root directory where Magento is installed. In my case it is cd /home/shaheer.cyberpanel.net/public_html
- In your command line, set Magento to developer mode. Run the following command:
php bin/magento deploy:mode:set developer
- To download the LiteMage plugin files, you have two methods:
- Method 1: Use wget download directly:
wget https://github.com/litespeedtech/magento2-LiteSpeed_LiteMage/archive/master.zip
- Method 2: Use composer to get latest LiteMage 2 package with command:
composer require litespeed/module-litemage
or for a specific version, command:
composer require litespeed/module-litemage:2.3.1
- Method 1: Use wget download directly:
- To extract the files in the .zip file, you can do from the CyberPanel Extract button on control panel or just type this command on the command line:
unzip master.zip
- To create a directory for the LiteMage plugin files, type the following command:
mkdir -p app/code/Litespeed/Litemage
- Move the unpacked LiteMage plugin files to the new directory:
mv magento2-LiteSpeed_LiteMage-master/* app/code/Litespeed/Litemage/
- To enable the LiteMage plugin, run the following command:
php bin/magento module:enable Litespeed_Litemage
- To make the plugin settings available for the Magento Admin panel, type the following command:
php bin/magento setup:upgrade
- Run Compile as following command:
php bin/magento setup:di:compile
- To set Magento back to production mode, type the following command:
php bin/magento deploy:mode:set production
- Go to the Root Directory of Magento, open the .htaccess file, and paste the following code on the top of the file:
<IfModule Litespeed>
    LiteMage on
</IfModule>
To activate LiteMage on Magento, the following steps should be followed correctly:
- Log into the Magento admin panel.
- In the left sidebar, click STORES, and then click Configuration.
- Click ADVANCED, and then click System.
- Click Full Page Cache.
- In the Caching Application list box, confirm that LiteMage Cache within LiteSpeed Server is selected. If LiteMage Cache within LiteSpeed Server is not selected, select it in the Caching Application list box, and then click Save Config.
- In the left sidebar, click SYSTEM, and then click Cache Management.
- Select the Configuration and Page Cache check boxes.
- In the list box above the table, select Refresh, and then click
VERIFYING LITEMAGE CACHE
- Open your web browser to visit a page that is cache-enabled.
- Open the web browser inspector by right-clicking the page, and then click Inspect.
- Select the Network tab, and then refresh the page.
- Select the item from the list that corresponds to the current HTML page (this is usually the first item ending in .html).
- Under Headers, if you see the following response header, then LiteMage is working correctly:
X-LiteSpeed-Cache: hit,litemage
For More Information, Please Check: LiteMage for Magento 2 Installation Guide

